Crafting a Secure and Stylish Gun Cabinet: A DIY Guide with Custom Woodworking Techniques
Owning firearms comes with a great responsibility, especially when it comes to ensuring their safe storage. A sturdy and secure gun cabinet not only protects your valuable possessions but also safeguards your family and community. This comprehensive guide will walk you through the process of creating a custom-made gun cabinet using woodworking techniques that enhance both security and aesthetic appeal.
Planning and Preparation
Before embarking on your woodworking journey, thorough planning is essential for a successful outcome. This involves defining your needs, gathering materials, and understanding the necessary tools.
Determining Your Requirements
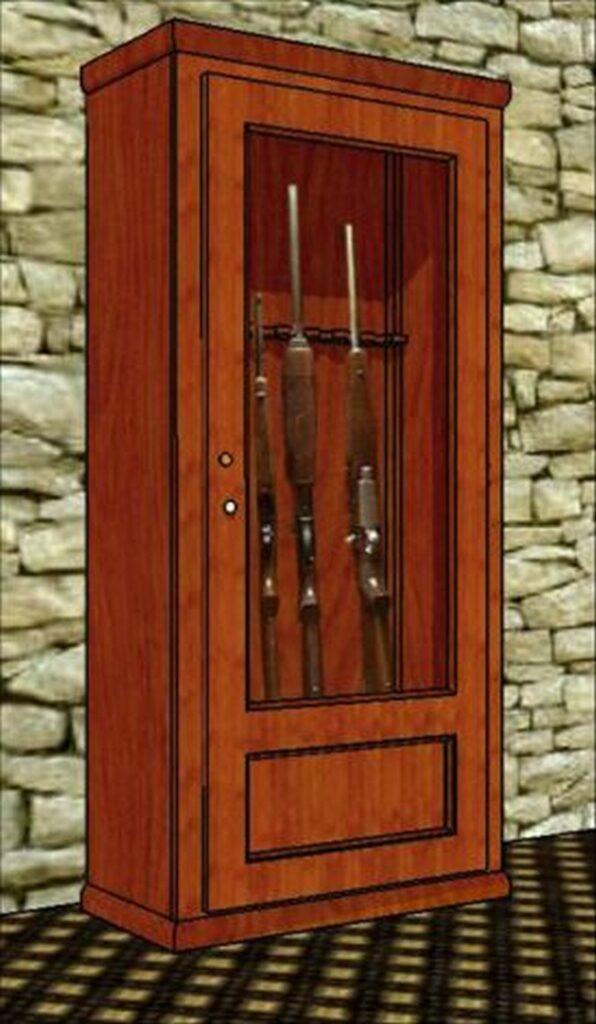
**Size:** Measure the space you have available and decide on the dimensions of your cabinet. Consider the number of firearms you need to store and their size. **Style:** Explore different cabinet styles, from traditional to modern, to find one that complements your decor. **Security Features:** Determine the level of security you require, factoring in the value of your firearms and local regulations. Gathering Materials
**Wood:** Choose a strong and durable wood like oak, maple, or cherry. Consider the thickness and quality of the wood for optimal security. **Hardware:** You'll need hinges, a lock, shelf supports, door handles, and possibly internal organizers for ammunition or accessories. **Finishing Supplies:** Stain, paint, varnish, or a combination of these will protect your cabinet and enhance its appearance. Essential Tools
**Table saw:** For accurate cutting of wood panels. **Miter saw:** For precise angle cuts, particularly for frame assembly. **Router:** For creating intricate details, such as raised panels or decorative edges. **Drill:** For drilling holes for hinges, locks, and shelf supports. **Sanding tools:** For creating a smooth finish, both hand sanding and a power sander will be useful. **Clamps:** For securely holding pieces of wood together during assembly. Construction: Building the Cabinet Body
The foundation of your gun cabinet is the sturdy body. Here's a step-by-step guide to assembling the frame, sides, and shelves:
Framing the Base
**Cut the base:** Measure and cut your chosen wood for the base frame according to the dimensions you've planned. **Join the base:** Use mortise and tenon joints or pocket-hole joinery for a strong and secure base. These joints provide superior strength compared to simple butt joints. **Reinforce the base:** Consider adding additional supports or a central beam for even greater stability. Constructing the Sides
**Cut the sides:** Measure and cut the side panels to the desired height, ensuring they align with the base. **Join the sides to the base:** Use dado joints or pocket-hole joinery to attach the sides to the base, creating a sturdy frame. Adding Shelves
**Determine shelf placement:** Plan where you want your shelves to be based on the size and types of firearms you'll be storing. **Cut shelf supports:** Measure and cut shelf supports to fit within the side panels, using dado joints or pocket-hole joinery to secure them to the sides. **Install shelves:** Cut your shelves to the desired length and attach them to the supports, ensuring a level and secure fit. Door Creation: Enhancing Security and Style
The door of your gun cabinet is the primary barrier to unauthorized access. Here's how to create a door that combines security and elegance:
Building the Door Frame
**Cut the door frame:** Measure and cut the door frame pieces, ensuring they are square and level. **Join the frame:** Use mortise and tenon joints or pocket-hole joinery to create a strong door frame. Adding a Door Panel
**Panel options:** Choose between a solid door panel for maximum security or a raised panel for a classic look. If you opt for a solid panel, consider adding reinforcement like a metal plate for added strength. **Attaching the panel:** Use a router to create a groove in the door frame to accommodate the panel, providing a secure fit. Hinges and Locks: Protecting Your Treasures
**Choose hinges:** Opt for heavy-duty hinges designed for cabinet doors, ensuring they can withstand the weight of your door. **Install hinges:** Attach the hinges to the door and the cabinet frame using screws that are long enough to reach into the wood. **Select a lock:** Choose a high-quality lock with a key or combination mechanism. Consider adding a lock plate for extra security. **Install the lock:** Mount the lock securely to the door, ensuring it engages properly with the strike plate. Finishing Touches: Refinement and Protection
Once your gun cabinet is assembled, it's time to give it a polished finish that protects the wood and adds a touch of elegance.
Sanding and Staining
**Sanding:** Sand the entire cabinet using progressively finer grits of sandpaper to smooth out any rough edges and prepare the surface for staining. **Stain application:** Apply the stain using a brush or rag, following the manufacturer's instructions. **Allow drying time:** Let the stain dry completely before proceeding to the next step. Varnishing or Painting
**Varnish:** Apply a clear varnish to protect the wood and enhance its natural beauty. **Painting:** Choose a paint that complements your style and provides a durable finish. **Multiple coats:** Apply multiple thin coats of varnish or paint, allowing each coat to dry completely before applying the next. Safety and Regulations
As a responsible firearm owner, it's crucial to adhere to safety guidelines and local regulations.
Safe Handling Practices
Always store firearms unloaded, with the safety engaged. Keep ammunition separate from firearms in your cabinet or a secured location. Teach children about gun safety and the importance of never touching a firearm without adult supervision. Local Regulations
Consult local laws and ordinances regarding gun storage requirements, including specific features like lock type, cabinet construction, and childproofing measures. Obtain necessary permits or licenses if required by your jurisdiction. Conclusion: A Legacy of Craftsmanship
Building a custom gun cabinet is a rewarding project that combines woodworking skills with the responsibility of safe firearm storage. By following this guide, you can create a secure and stylish cabinet that protects your valuable firearms and ensures their responsible ownership. Remember, your dedication to craftsmanship extends beyond aesthetics, reflecting a commitment to safety and the legacy of responsible gun ownership.


No comments:
Post a Comment
Note: Only a member of this blog may post a comment.